
Before you start, you will need picture hooks, a hammer, pencil, eraser and measuring tape. Gather together all the pictures you hope to hang…paintings, posters, etchings, photos…everything. Take down what's already on the walls. Dig out any pieces that are gathering dust under the bed.
When you've gathered everything together, lean them up against walls and furniture and scan them. At this point you may feel overwhelmed. Don't panic - keep looking. Relationships between the pieces will emerge. Hanging paintings is not a creative art, it is a surprisingly logical and principle driven process.
Step 1 - Group images by subject matter
Love landscapes? Group them together and they'll complement rather than compete for attention. Similarly group still lives together, or images with people in them. Grouping by subject matter has created relationships between the paintings by default!
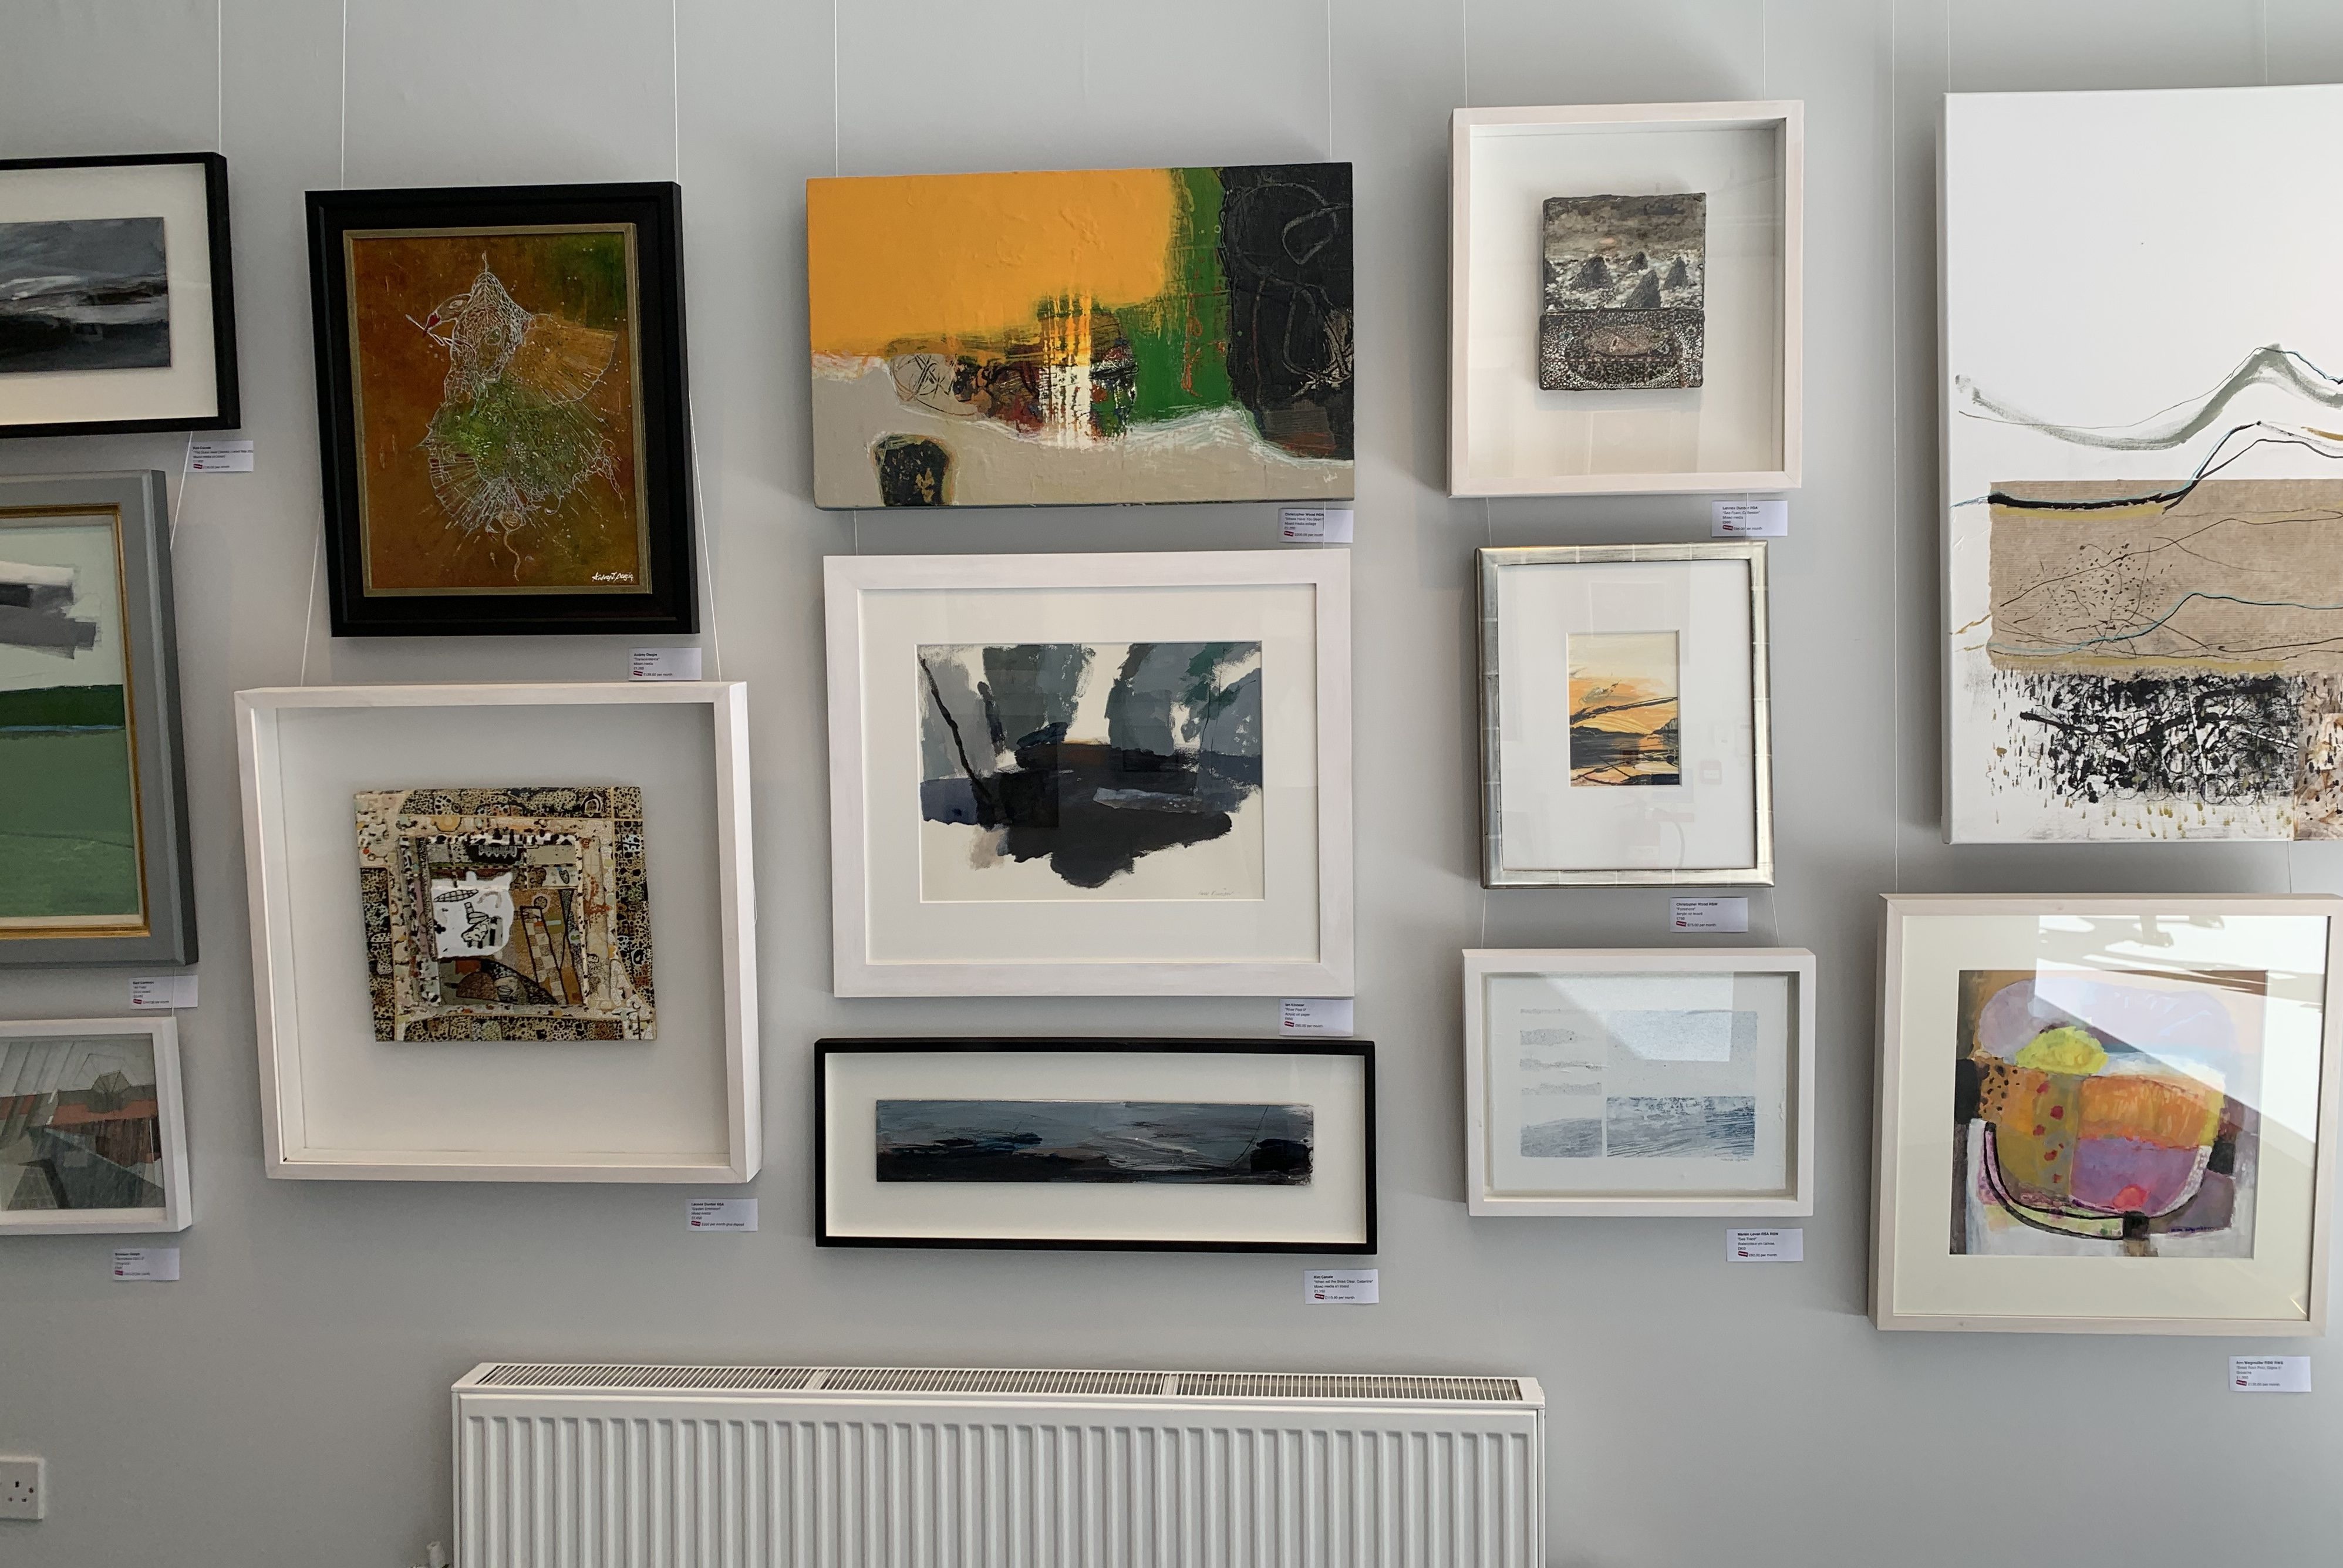 Here we've grouped abstract landscapes and have used grey as a unifying colour across the grouping. The flashes of orange link one to the next and helps move your eye along the wall.
Step 2 - Pick your starting points
There are some spots in your home that will be the focal point of a room, for example over the mantle or opposite an entrance way. Try a variety of paintings in that spot. Go large! There’s nothing worse than a postage stamp on a cliff face.
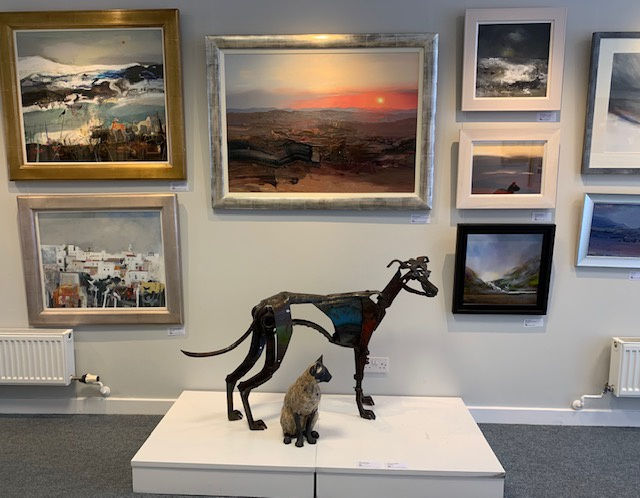
This striking landscape by Chris Bushe RSW begs to be hung above a mantle. The moody landscapes to the right, and the double hung scenes to the left, serve to counterbalance the attention it demands.
Step 3 - Forget symmetry and aim for balance
Once you've chosen the painting for your focal point, lean it on the floor, and work out from there. How do the rest of the paintings from that subject matter grouping look nearby? Look for visual links between paintings such as colour or maybe even frame type. This is when you discover that the old piece from under the bed has just the right flash of pink to link to your latest acquisition and make it sing!
You don't have to put 'matching' paintings on either side of a chimney breast. We often talk about 'weight' and 'balance' when thinking about relationships between paintings. An oil painting of a windswept Scottish moor would be very 'heavy' were it hung beside a watercolour of a Mediterranean scene. The paintings' relative weight would be off balance. Keep trying different paintings in each space and consider double hanging to alter the 'weight' of a grouping.

Greens and reds unify this wall. The muted avocado and lime greens in the centre are framed by the strong red tablecloth in the painting on the top right and the red background in the painting on the top left. In fact the fire extinguisher plays a part in balancing this wall's composition. Note they are all still life or flower themed.
Step 4 - Think about the shapes you're trying to fill
Don't be tempted to hang a painting in the exact middle of your wall. Instead think about how the space is broken up by radiators, light fittings and furniture. Position your paintings relative to these fixed objects. How do they carve up the wall and what shaped spaces do they create? Fill a horizontal rectangle with a landscape shaped painting, or perhaps two square ones. A vertical rectangle would suit a portrait or square painting better, or one painting hung above another. If you're double hanging, the larger painting usually looks best below the smaller.
Step 5 - Consider scale
If you're hanging a stairwell or a space that you can't step back from, then an intricate piece that benefits from being studied up close is the obvious choice

Get up close to an etching and you can truly appreciate the artist's mark making skill.
Step 6 - Think about each painting's 'direction'
Elements of a painting's composition will more than likely run diagonally. Some will 'lean' top left to bottom right, others top right to bottom left. Get them to 'face' each other to make a more self contained grouping, and try not to position a painting so that it 'leans' into a corner.

Here we used the image of a shepherd to transition from landscape paintings to a group of figurative pieces. Note how the shepherd is 'leaning' away from the corner.
Step 7 - Hang your paintings at your eye line
If you're very tall, hang the paintings higher up the wall. If you're short, hang them lower. But hang them at your eye line to appreciate them at their best.
Step 8 - Relax, there's always filler
Be prepared to move the hook more than once. You're not going to get it right every time no matter how carefully you measure before wielding hammer and nail. Remember the initial attempts will be covered by the painting, and if not, the excess holes can be filled.

Seventh time right!
Step 9 - Do it all again
Rehang every eighteen months or so. You don't have to move everything, but by moving artworks around you get to see them in a new light and appreciate them afresh. And perhaps when you re-hang you'll find a space for something new to add to your collection!